This tutorial describes steps to set up an EMR cluster with Alluxio as a distributed caching layer for Hive, and run sample queries to access data in S3 through Alluxio.
Prerequisites
- Install AWS command line tool on your local laptop. If you are running Linux or macOS, it is as simple as running pip install awscli.
- Create an EC2 Key Pair from the EC2 console if you don’t have an existing one.
Step1: Create an EMR cluster
First, let us create an EMR cluster with Hive as its built-in application and Alluxio as an additional application through bootstrap scripts. The following command will submit a query to create such a cluster with one master and two workers instances running on EC2. Remember to replace “alluxio-aws-east” in the following command with your AWS keypair name, and “m4.xlarge” with the EC2 instance type you like to use. Check out this page for more details of this bootstrap script.
$ aws emr create-cluster \
--release-label emr-5.25.0 \
--instance-count 3 \
--instance-type m4.xlarge \
--applications Name=Hive \
--name 'EMR-Alluxio' \
--bootstrap-actions \
Path=s3://alluxio-public/emr/2.0.1/alluxio-emr.sh,\
Args=[s3://apc999/emr-tutorial/example-ml-100] \
--configurations https://alluxio-public.s3.amazonaws.com/emr/2.0.1/alluxio-emr.json \
--ec2-attributes KeyName=alluxio-aws-east
You can checkout the progress at AWS EMR console. This process can take 5 to 10 minutes until the status shows “Waiting Cluster ready” as shown in the screenshot below.
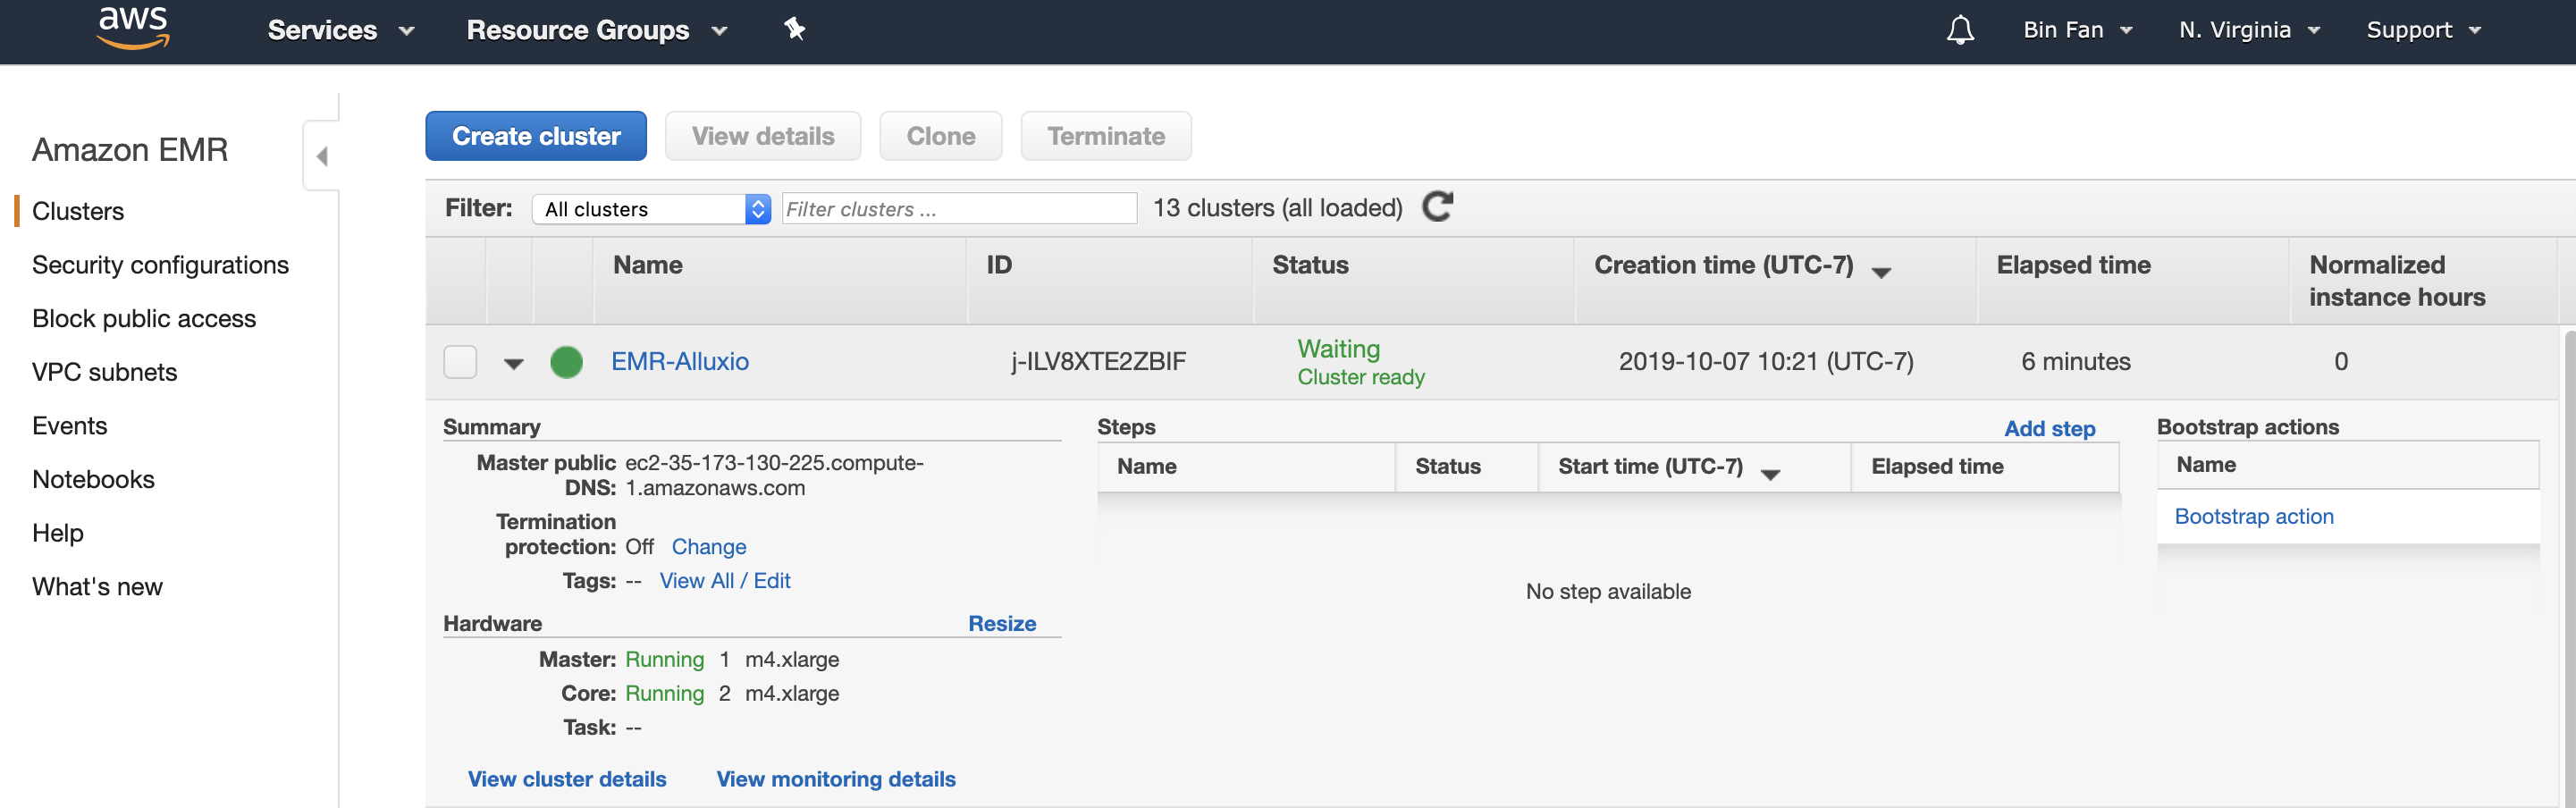
So far, we have a three-node cluster running.
Step2: Create a Hive Table on Alluxio
Log in to the master node (its hostname will be different from your runs, check the “Cluster details” on the console page).
$ ssh -i /path/to/alluxio-aws-east.pem hadoop@ec2-35-173-130-225.compute-1.amazonaws.com
Check if the S3 bucket “apc999” with my example input data has been properly mounted. Note that, this bucket is pre-configured to be a public bucket and accessible for all AWS users.
[hadoop@ip-172-31-30-29 ~]$ alluxio fs mount
s3://apc999/emr-tutorial/example-ml-100  on  /  (s3, capacity=-1B, used=-1B, not read-only, not shared, properties={})
[hadoop@ip-172-31-30-29 ~]$ alluxio fs ls -R /
              1       PERSISTED 10-07-2019 20:32:09:071  DIR /ml-100k
          22628       PERSISTED 10-01-2019 07:15:07:000 100% /ml-100k/u.user
Start Hive and run a simple HQL query to create an external table “users” based on the file in Alluxio directory /ml-100k:
[hadoop@ip-172-31-30-29 ~]$ hive
> DROP TABLE IF EXISTS users;
> CREATE EXTERNAL TABLE users (
userid INT,
age INT,
gender CHAR(1),
occupation STRING,
zipcode STRING)
ROW FORMAT DELIMITED
FIELDS TERMINATED BY '|'
LOCATION 'alluxio:///ml-100k';
Step3: Query the Hive Table
After creating this external table, run Hive with the following query to scan the table users and select the first 10 records from this table:
> SELECT * FROM users limit 10;
You will see results like
1   24  M   technician  85711
2   53  F   other   94043
3   23  M   writer  32067
4   24  M   technician  43537
5   33  F   other   15213
6   42  M   executive   98101
7   57  M   administrator   91344
8   36  M   administrator   05201
9   29  M   student 01002
10  53  M   lawyer  90703
Step4: Write a New Table
Let us mount a new bucket where you have write permission on the same Alluxio file system namespace. Make sure you can write to this bucket address. In my example, I mounted a new Alluxio directory /output with a writable bucket path (to me only) under s3://apc999/output.
[hadoop@ip-172-31-30-29 ~]$ alluxio fs mount /output s3://apc999/output
Mounted s3://apc999/output at /output
Inside Hive, write a new table to the output directory:
> DROP TABLE IF EXISTS new_users;
> CREATE EXTERNAL TABLE new_users (
userid INT,
age INT,
gender CHAR(1),
occupation STRING,
zipcode STRING)
LOCATION 'alluxio:///output/';
> INSERT OVERWRITE TABLE new_users SELECT * from users;
The above queries will create a new table called new_users based on the same content in table users. One can check the data inside alluxio:///output:
[hadoop@ip-172-31-30-29 ~]$ alluxio fs ls -R /output
          22628       PERSISTED 10-07-2019 21:36:22:506 100% /output/000000_0
Summary
In this tutorial, we demonstrate how to run EMR Hive with Alluxio in a few simple steps based on Alluxio boot-strap scripts. Feel free to ask questions at our Alluxio community slack channel.